1 (855) 217-8437

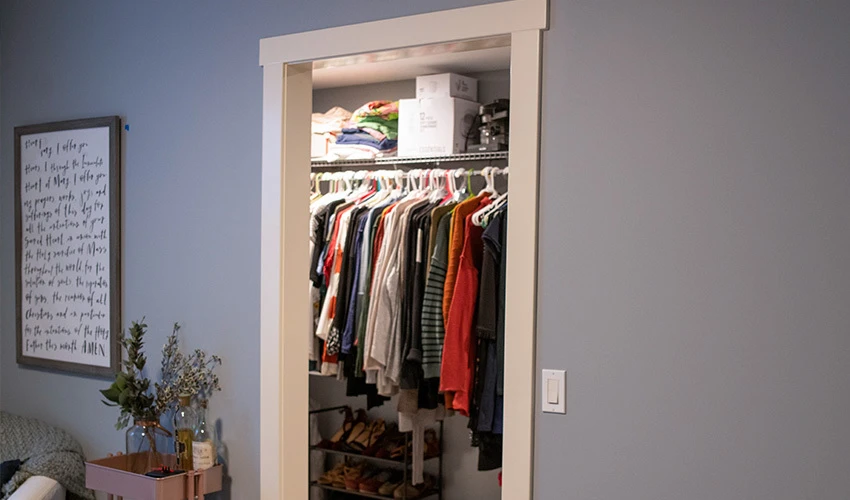
Picture this: an amazing walk-in closet with a dedicated spot for every little thing. Now picture your clothes in it!
Whether you currently have tiny closets or not enough closets, today we’re showing you how to make a closet with enough space to take a nap in, drink tea in – or whatever you want to do.
11 Steps to Building a Walk-In Closet
These instructions show you how to make a walk-in closet using an existing closet, an alcove or just the corner of a large room:
1. Sketch the closet, including dimensions.
Grab a pencil and graph paper, and draw your ideas to scale. Pick a door style now so you can be sure there will be room for it to swing, slide or fold.
Plan out the different types of storage you want, such as these:
- One or two tiers of closet rods
- Slanted shoe shelves
- Cubbies or drawers for folded items
- High cupboards for seasonal or rarely used items
- Tilt- or slide-out laundry hampers
- Towel racks
- Fold-out tie racks or hat racks
- Jewelry cupboards, drawers or hooks
- A center island with drawers
- A shelf or two for decorations, or spare wall space for a mirror/art
2. Gather supplies and tools.
Your local hardware store will be a great resource for this project. You’ll need lumber, blocking, framing hardware and sheetrock (or a nice cedar paneling) for the walls. Purchase a door with hardware, plus any cabinetry you need.
At minimum, you’ll need these tools:
- Power drill (with necessary bits and screws)
- Screwdriver
- Circular or miter saw
- Stud finder
- Prybar
- Claw hammer
- Large level (ideally 4 feet long)
- Tape measure
- Framing square
- Straightedge or yardstick
- Marking pencils and chalk
- Random orbit sander
- Paint and painting supplies
If this is already sounding intimidating, consider hiring an experienced handyman like Mr. Handyman® to turn your closet plans into the real deal.
3. Roll back the carpet, and remove trim.
Pull the carpet up in the area where the closet will be. Then remove the trim, baseboards and molding without damaging it. After that, you’ll have a clean canvas for your work.
4. Mark all the studs.
When determining how to make your walk-in closet, you’re bound to forget about something that you need to anchor to a stud. To prevent issues, use a pencil to mark the location of every stud from floor to ceiling.
5. Frame and secure the walls.
Build the walls to your walk-in closet on the floor, making sure they are at least a quarter of an inch shorter than the ceiling height to avoid ceiling damage when you stand them up. After you lift the walls into place, use shims to make them plumb and as level as possible. Attach the walls to the floor first, using screws or a construction adhesive. Then screw the frame to the existing wall studs and ceiling.
6. Run electricity for lighting and outlets.
You may be able to use existing electrical boxes, but chances are, you need to run some wiring for your closet’s lights and outlets. This is best left to an expert. See if there’s a Mr. Electric® team near you, as they are trusted Neighborly® pros. They can even help you choose custom lighting and install it for you.
7. Add bracing before finishing walls.
Your closet is going to have a lot of shelving and fun little features, and they all need to be attached to something strong. This is the time to add extra bracing (extra two-by-fours in the framing) to support all of it. In some cases, you might want to add bracing to allow for items being nestled between studs; for example, a fold-out jewelry cabinet can live in the wall. After you’ve added this structural support, finish the walls by installing the sheetrock and fully finishing the seams.
8. Paint the walls and ceiling.
Now’s the time to decide how to make your walk-in closet yours. Paint is one of the most personal finishing touches. Be creative, and remember that lighter colors typically make a space feel larger. The sky’s the limit – you could even paint a galaxy on the ceiling. If you lack painting skills or available time, hire a trustworthy local painter. If Five Star Painting® has a team in your area, we can’t recommend them enough!
9. Install flooring.
For your walk-in closet flooring, you may decide to reinstall the carpet that you previously rolled out of the way. However, you may want flooring that contrasts slightly with the adjacent room so the closet feels separate and special. For example, consider engineered wood, tile or high-quality vinyl. Cover the new flooring to protect it as you finish building your walk-in closet.
10. Install the shelving and other storage.
You might be using a closet kit or going with a custom shelving setup. Either way, grab a pencil again and mark the location of the two-by-four framing on the new wall. Again, mark the entire length of each board so you can easily screw things in at any height.
Keep in mind that single clothing rods are usually hung at about 65 inches off the floor, but you may want to raise or lower it a little bit, depending on your height. Double-hung rods are typically hung at 38 and 76 inches high. If you use a tension rod supported by an end bracket, you can always adjust the height later.
Install your carefully designed shelving configuration, and watch your dream closet start to take shape!
11. Apply finishing touches.
Next, add a few personal touches: a custom mirror, a glass shelf for a decoration, a faux plant and so on. Finally, load up your new closet with all your clothing and personal items!
How Much Value Does a Walk-In Closet Add?
Walk-in closets don’t always increase a home’s resale price, especially if a smaller closet already existed in the space before. If they do bump up your home’s value, the added value usually exceeds the cost of the closet by about 100%. Price tag aside, walk-in closets are a desired amenity, or even an expectation, of many prospective buyers and can help you sell your home faster.
Above all, walk-in closets can add value to your everyday life by keeping you organized and providing luxury. If you need help adding a closet or tackling another home improvement project, Neighborly’s pros have you covered. Search for any home service you need today.
Some of the Neighborly home service brands mentioned in this post may not be available in your zip code. To find out which experts are nearby, search for services in your area.
Depending on current health and safety regulations in your area, some of the services mentioned in this post may not be available. Neighborly service providers will follow the latest health and safety guidelines provided by the local and state governments. Please check with your local Neighborly service provider for details at the time you need service(s).
Use the Neighborly App to get connected to local home service professionals. Download and receive offers only available on the App.
Download It Today